Free Giant Check Templates vs. an Editable Online Designer
Word doc, PowerPoint slide, Canva template, or a purpose-built tool — here's what actually determines whether your giant check looks sharp at full size.
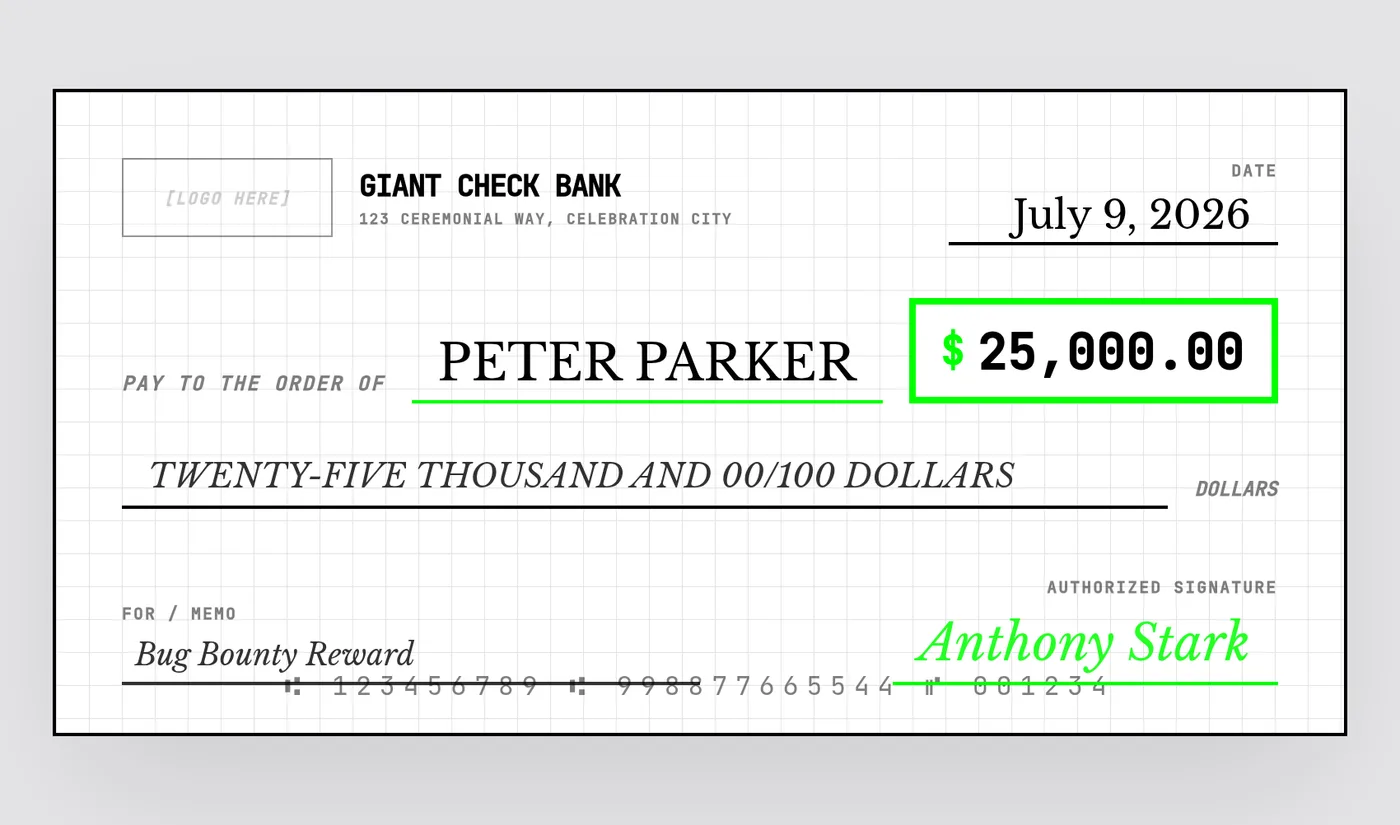
Search "giant check template free" and you'll get a flood of results: Word documents with a check-shaped table, PowerPoint slides with placeholder text boxes, Canva designs, and PDF downloads from print shops. They all promise the same thing — a free, editable big check — but they don't all produce the same result once you actually print one.
What "free template" usually means
| Format | Editing experience | Print quality risk |
|---|---|---|
| Word / Google Docs | Table cells and text boxes; fragile layout that shifts when you type | High — no print-resolution export path built in |
| PowerPoint / Google Slides | Easiest to move elements around; not designed for exact-size print output | High — exporting a slide to PDF rarely hits 150+ DPI at 36" |
| Canva template | Drag-and-drop, reasonably polished | Medium — free tier caps resolution; Pro export is needed for clean large-format |
| Downloadable PDF/JPEG (Etsy, Etsy-style shops) | Static image; editing means covering text with your own text box | Medium-to-high — quality depends entirely on the original file's resolution |
| Browser-based check designer | Purpose-built fields (payee, amount, memo, signature); live preview | Low — export is rendered directly at print resolution with bleed built in |
The core problem: DPI, not design
Almost every free template looks fine — the layout, fonts, and colors are usually well designed. The failure point is almost always resolution. A Word table or a PowerPoint slide is built at screen dimensions (roughly 96 DPI). When you scale that up to a 36-inch-wide print, you're stretching those same pixels across 36x the surface area. Text edges soften, straight lines get jagged, and fine details (routing numbers, micro-print borders) disappear entirely.
This is the same reason a phone screenshot looks great on your phone and terrible on a billboard — resolution doesn't scale with intent, only with the actual pixel count of the source file.
What a purpose-built designer does differently
- Renders the check as a live canvas, not a static image, so every field you type updates in real time at full fidelity
- Exports at a fixed high pixel ratio (commonly 4x) regardless of your screen size, so the file is print-resolution by default
- Builds in the correct aspect ratio (36:18, i.e., 2:1) so you're never fighting a template that was actually designed for 8.5x11 paper
- Includes a bleed guide so print shops can trim without clipping content or leaving a white edge
When a static template is actually fine
If you only need the check for a digital reveal — a social post, a Zoom background, an email — a lower-resolution template is genuinely fine, because screens don't need 150+ DPI. The moment physical printing enters the picture, though, resolution stops being optional.
How to tell if a free template will print well
Open the source file and check its dimensions in pixels. For a 36" x 18" check to print at 150 DPI, you need at least 5400 x 2700 pixels. Most free downloadable templates are 1200-2000 pixels wide — well short of that mark.
Skip the DPI math entirely
GiantCheck.me exports directly at 4x resolution with built-in bleed — no template file, no resizing, no guessing whether it'll hold up at full size.
Open the Free Designer →$10 for the clean, print-ready download · no signup required
Frequently asked questions
Are free giant check templates good enough to print?
Often not at full size. Most free templates are built as low-resolution JPEGs or editable Word/PowerPoint files with placeholder text boxes — fine on screen, but they pixelate once printed at 36 inches wide because the source image was never rendered at print resolution.
Can I edit a giant check template in Canva?
Yes, Canva has giant check templates, but the free tier caps export resolution and most templates are designed at screen DPI (72-96), not print DPI (150+), so you'll need a Canva Pro export or a purpose-built tool to get a clean large-format print.
What's the difference between a template and an online check designer?
A template is a static file you edit yourself in whatever software opens it. An online designer like GiantCheck.me is a live tool that renders the check as you type and exports directly at print resolution with correct bleed, so there's no separate "export settings" step to get wrong.